RustyJeep's '73 J4000
Front Spring Install
Front Axle Swap | Floor Repair | 4bbl Intake & EFI Install | Misc. Pics | Pictures | Front Spring Install
RustyJeep's '73 J4000
Front Spring Install
| |||||
|
Front Axle Swap | Floor Repair | 4bbl Intake & EFI Install | Misc. Pics | Pictures | Front Spring Install
| |||||
|
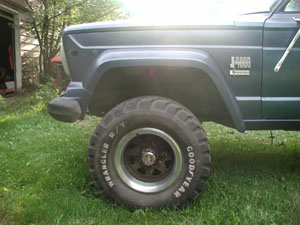
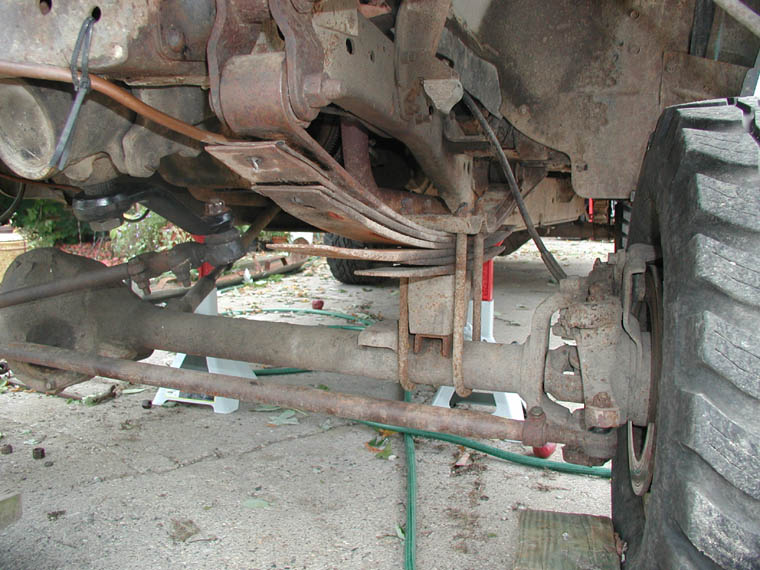
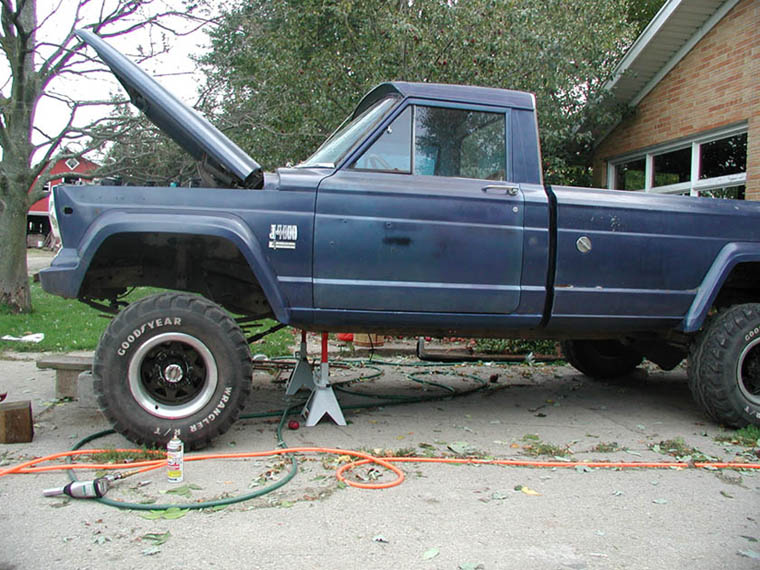
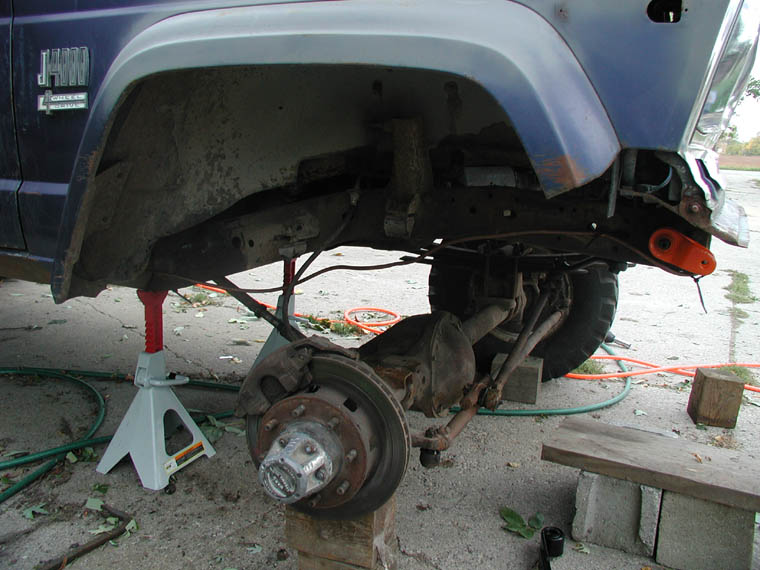
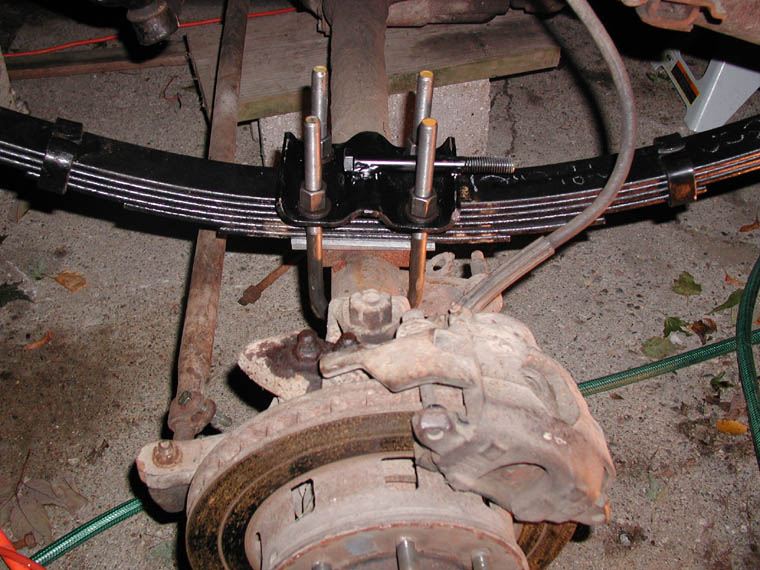
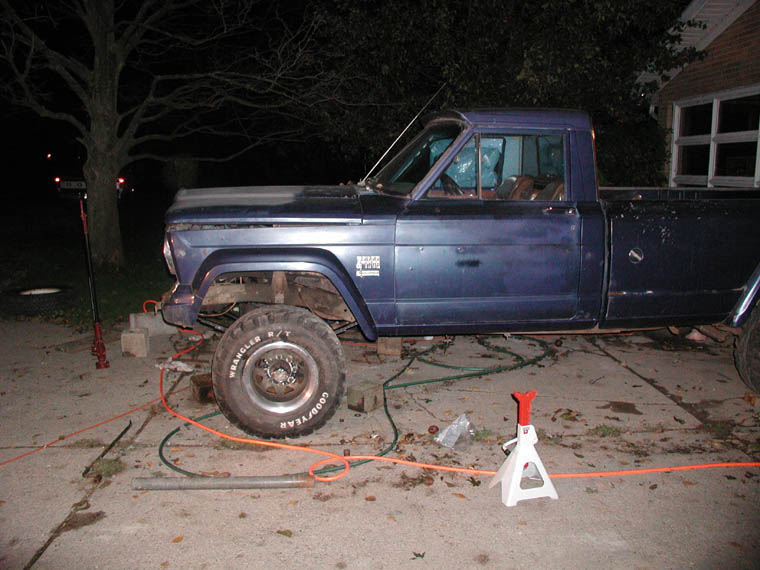
So here's what I started with. Now, you might be saying to yourself, "That looks like plenty of clearance to me," or something along those lines. But, things arent always what they seem. When the Jeep arrived, I was excited. I was happy, but there were some disappointments. Just take a look at the picture. The PO put lift blocks under the front springs! Right when I saw that, I knew I couldn't let that go so this is where we start. So here's where it all began. I went to Tractor Supply and picked up a set of jack stands, and started to work. I needed the biggest ones they had because there was so much clearance under the Jeep. 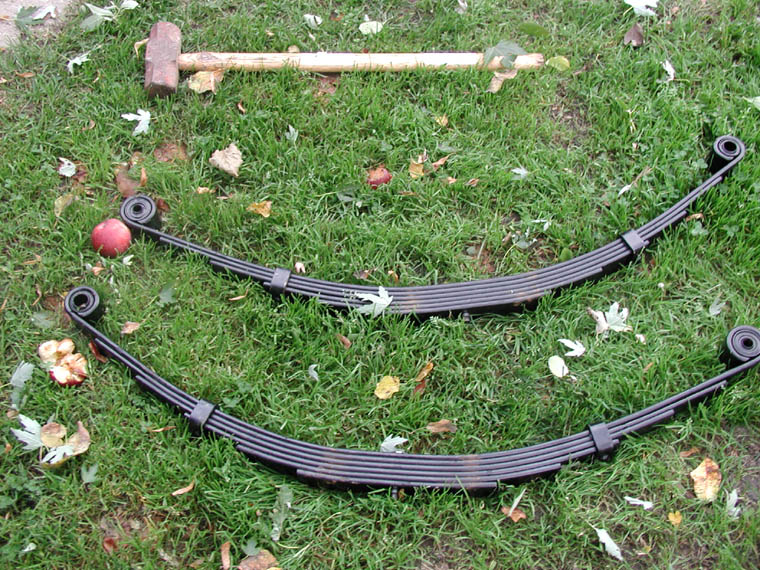 The whole point of this exercise was to get these babies under my rig. Brand new custom 4" springs from Grand Rapids Spring, in Grand Rapids, Michigan. Note the persuasion device in the background. After hours and hours of struggling with the almost 30 year old spring bushings, I finally got the thing off. My secret? A pitman arm puller. That's right, it'll slide right behind the spring eye, then all you have to do is zap it with an impct wrench, and blammo! I needed to take one spring off so GR Spring could use it for measurements. That would explain why only one tire is off. While the spring was off, I started toying with the idea of "colorizing" my shackles and hardware. Here is what I came up with. Then I remebered that my rig was going to be yellow. Yellow and Orange wouldn't be the best color combo in the world, so back to black they went. Ok...so the springs went on without a hitch. Next on the list was to figure out some shock mounts, as the stocker Dodge mounts were supposed to be directly under the spring and one was torched off anyway. I bought a grade 8 bolt, and welded it to my spring plate. I had doubts about the structural integrity of this, but so far it has held up. It lines up perfectly with the stock shock tower, and I was able to use stock length shocks. Therefore saving $$. In the home stretch! All I had to do was do a preliminary tightening with the wrenches, and I was set. Who is that handsome devil in the pic, anyway?? | ||||
|
So that took care of the whole front lift block dilemma. I used a 3 degree shim in the front to help with angles. Before that, my driveshaft would bind at full droop, and the splines would be showing an inch or so. Now, at full droop, no bind - no splines!
Here are some very dark/bad pics of the "final product". It wasn't really final, as it has changed again since, but I am so slow at updating this site and don't have more pics yet.
| ||||